I. Introduction
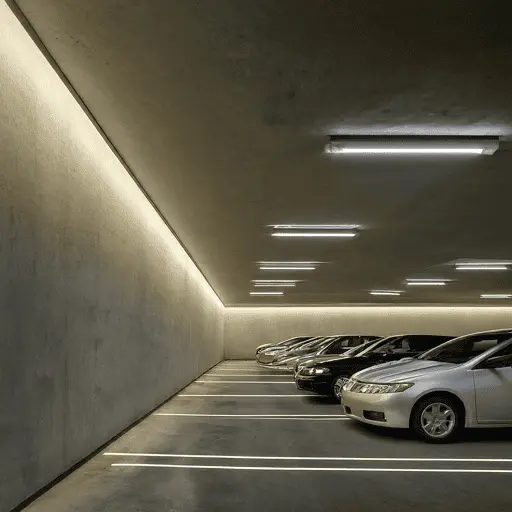
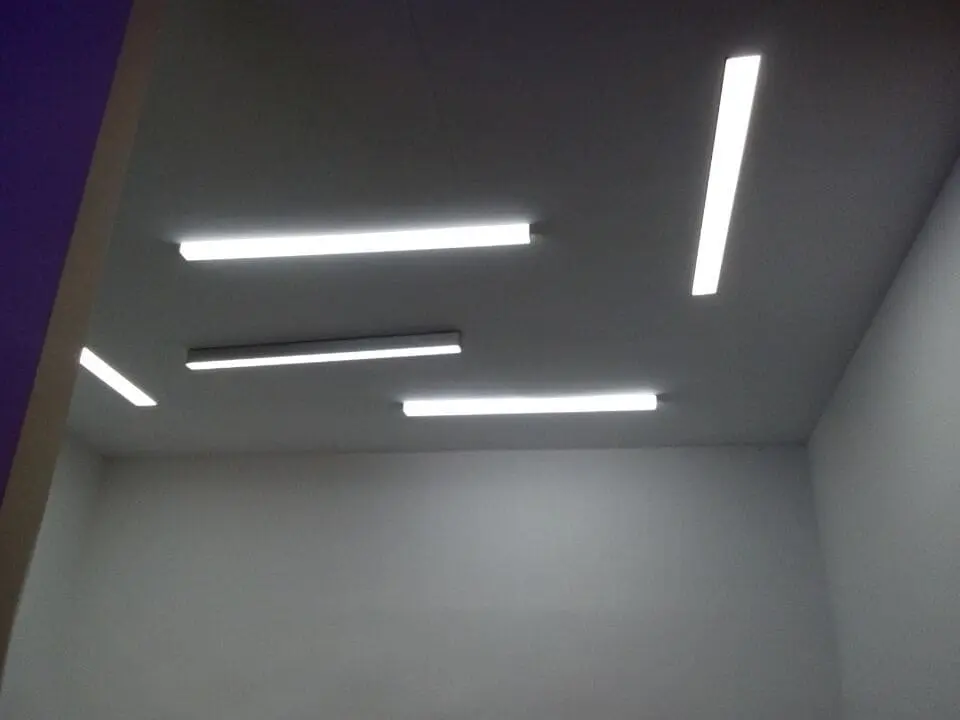
Are you tired of dealing with flickering fluorescent lights or high energy bills? It’s time to upgrade your lighting to the more efficient and long-lasting LED technology. In this comprehensive guide, we will walk you through the process of converting your fluorescent lighting to LED, providing you with a quick and easy solution to enhance your lighting experience. Say goodbye to the hassles of fluorescent lighting and embrace the benefits of LED. Let’s get started on your journey to better illumination!
II. Understanding the Difference: Fluorescent Light vs. LED Lighting
Fluorescent lighting has been a common choice for commercial and residential spaces for many years. However, LED lighting has gained popularity due to its numerous advantages. Here’s a quick comparison:
1. Energy Efficiency: LED lights are highly energy-efficient, consuming significantly less electricity compared to fluorescent lights. This translates to lower energy bills and reduced environmental impact.
2. Longevity: LEDs have a much longer lifespan than fluorescent lights. While fluorescent tubes typically last around 10,000 to 15,000 hours, LED lights can last up to 50,000 hours or more. This means fewer replacements and maintenance hassles.
3. Instant On/Off: Fluorescent lights often require a warm-up period before reaching their full brightness. In contrast, LED lights turn on instantly, providing immediate illumination without any flickering or delays.
4. Durability: Fluorescent lights are fragile and likely to break, especially during transportation and installation. LED lights, on the other hand, are solid-state devices and are more resistant to shock, vibration, and environmental factors.
5. Flexibility: LED lighting offers a wide range of options in terms of color temperature, brightness, and dimming capabilities. This allows for more control and customization to create the desired ambiance in your space.
By upgrading to LED lighting, you can enjoy improved energy efficiency, longer-lasting illumination, instant operation, enhanced durability, and greater flexibility in lighting design.
III. Assessing Your Current Lighting Setup
Before starting the conversion process, it’s essential to assess your current lighting setup to determine if it’s suitable for LED conversion. Here are the steps to follow:
1. Identify the Type of Fluorescent Fixtures: Take note of the type of fluorescent fixtures you have, such as T8 or T12 tubes, compact fluorescent lamps (CFLs), or fluorescent troffers. This information will help you choose the appropriate LED retrofit kits or bulbs.
2. Evaluate Fixture Condition and Compatibility: Check the condition of your fixtures. Make sure they work well and have no damage. Additionally, verify if the fixtures are compatible with LED retrofit kits. Some older fixtures may require rewiring or modifications to accommodate LEDs.
3. Consider Ballast Compatibility: If your fluorescent fixtures have ballasts, determine if they are compatible with LED tubes. Some LED retrofit options require bypassing or removing the ballast, while others are designed to work with compatible ballasts. Refer to the manufacturer’s instructions or consult a professional if you’re unsure about the compatibility.
4. Assess Lighting Needs: Evaluate your lighting needs and preferences for the space. Consider factors such as brightness levels, color temperature, and lighting distribution. This will help you select the appropriate LED products that meet your requirements and create the desired lighting ambiance.
By thoroughly assessing your current lighting setup, you’ll have a clear understanding of its compatibility with LED conversion.
IV. Gathering the Necessary Tools and Materials

To ensure a smooth and successful conversion from fluorescent to LED lighting, it’s important to gather the required tools and materials in advance. Here’s a list of what you’ll need:
1. Safety Equipment: Focus on safety by wearing protective gear, including safety glasses and gloves. Additionally, make sure to turn off the power to the lighting circuit before starting any work.
2. Screwdriver Set: A set of screwdrivers, including both flat-head and Phillips-head, will be necessary for removing and installing fixtures and other components.
3. Wire Cutters/Strippers: You may need wire cutters/strippers to trim or strip wires during the rewiring process, especially if you’re bypassing the ballast.
4. Voltage Tester: Use a voltage tester to verify that the power is completely turned off before working on the lighting fixtures. This will help prevent any electrical hazards.
5. LED Retrofit Kits or Bulbs: Select the appropriate LED retrofit kits or bulbs based on the type of fluorescent fixtures you have. Make sure to choose reliable and high-quality products from reputable manufacturers.
6. Wiring Connectors: Depending on the LED retrofit method, you may need wiring connectors, such as wire nuts or push-in connectors, to properly connect and secure the wiring.
7. Ladder or Step Stool: If your fixtures are mounted in high or hard-to-reach areas, a ladder or step stool will be necessary for safe access during the installation process.
8. Instruction Manuals: Keep the instruction manuals or installation guides provided with the LED retrofit kits or bulbs handy. They will provide step-by-step instructions specific to the product you’re using.
By having these tools and materials ready, you’ll be well-prepared to handle the conversion process smoothly.
V. Step-by-Step Conversion Process
Now that you have assessed your current lighting setup and gathered the necessary tools and materials, it’s time to convert your fluorescent lighting to LED. Follow these step-by-step instructions:
1. Turn off the Power: Before starting any work, ensure that the power to the lighting circuit is switched off at the breaker box. Use a voltage tester to double-check that there is no electricity flowing to the fixtures.
2. Remove Fluorescent Tubes: If you have fluorescent tubes, gently twist and remove them from the sockets. Place them aside for proper disposal or recycling.
3. Bypass or Remove Ballast: Depending on your LED retrofit method, you may need to bypass or remove the ballast. If bypassing, follow the manufacturer’s instructions for wiring the fixture directly to the electrical supply. If removing the ballast, disconnect the wiring connections and carefully remove the ballast from the fixture.
4. Install LED Retrofit Kit or Bulbs: Follow the manufacturer’s instructions for installing the LED retrofit kit or bulbs. This may involve inserting the LED tubes into the sockets or connecting the retrofit kit components to the fixture.
5. Connect Wiring: If you bypassed the ballast, follow the wiring instructions provided with the LED retrofit kit. Ensure that the wiring connections are secure and properly insulated using wiring connectors.
6. Secure Fixtures: Once the LED retrofit kit or bulbs are installed and the wiring is connected, securely fasten the fixtures back in place. Use the screwdriver to tighten any screws or brackets as needed.
7. Restore Power and Test: Turn the power back on at the breaker box and test the LED lights. Ensure that they turn on properly and provide the desired illumination. If any issues arise, double-check the wiring connections or consult the manufacturer’s troubleshooting guide.
8. Adjust Lighting Settings: If your LED lights come with adjustable settings such as brightness or color temperature, adjust them according to your preferences. This will help you achieve the desired lighting effects in your space.
By following these step-by-step instructions, you can successfully convert your fluorescent lighting to LED.
VI. Testing and Adjusting
After completing the conversion process, it’s important to test and adjust your LED lighting setup to ensure best performance. Here are the recommended steps:
1. Check for Proper Functionality: Turn on all the LED lights and observe their operation. Make sure they are all working correctly without any flickering or dimming issues. If you notice any problems, double-check the wiring connections or consult the manufacturer’s troubleshooting guide.
2. Assess Brightness and Color Temperature: Evaluate the brightness level and color temperature of your LED lights. Determine if they meet your desired lighting needs for the specific space. If adjustments are necessary, refer to the manufacturer’s instructions on how to modify these settings.
3. Consider Dimming Options: If you have installed dimmable LED lights, test their dimming capabilities. Ensure that they smoothly transition from full brightness to lower intensity levels without any flickering or buzzing noises. If issues arise, verify compatibility with your existing dimmer switch or consult an electrician for further assistance.
4. Seek Feedback and Make Adjustments: Ask people who use the space how they feel about the new LED lights. Take note of any specific requests or concerns and make appropriate adjustments if possible.
5. Monitor Energy Usage: Keep track of your energy consumption after the LED conversion. Compare it to previous energy bills when you were using fluorescent lighting. You should notice a significant decrease in energy usage, resulting in potential cost savings over time.
By thoroughly testing and adjusting your LED lighting setup, you can ensure that it meets your expectations in terms of functionality, brightness, color temperature, and energy efficiency.
VII. Additional Considerations
As you complete the conversion from fluorescent to LED lighting, here are a few additional considerations to keep in mind:
1. Responsible Disposal of Fluorescent Tubes: Properly dispose of the fluorescent tubes you removed during the conversion. Fluorescent tubes contain small amounts of mercury and should not be thrown in regular trash bins. Check with your local recycling facilities or waste management authorities for guidelines on how to safely dispose of them.
2. Explore Government Rewards and Rebates: Research whether there are any government rewards or rebates available for LED lighting upgrades. Some regions offer financial rewards to encourage energy-efficient lighting, which can help cover the initial costs of the change.
3. Consult with Professionals: If you’re unsure about any aspect of the conversion process or if you have complex lighting setups, consider consulting with a professional electrician or lighting specialist. They can provide expert guidance and ensure the conversion is done safely and efficiently.
4. Regular Maintenance and Cleaning: LED lights require minimal maintenance compared to fluorescent lights. However, it’s still important to periodically clean the fixtures and remove any dust or debris that may accumulate. This helps maintain best performance and longevity.
5. Stay Updated on LED Technology: LED technology is continually evolving, and new advancements are constantly being made. Stay informed about the latest innovations, such as smart LED lighting systems or improved energy efficiency, to further enhance your lighting setup in the future.
By considering these additional factors, you can maximize the benefits of your LED lighting conversion and ensure a sustainable and efficient lighting solution for your space.
VIII. Conclusion
By following this quick and easy guide, you’ve improved the energy efficiency, longevity, and overall quality of illumination in your space. Enjoy the benefits of LED lighting, including reduced energy costs, longer-lasting bulbs, instant operation, and enhanced customization options. Enjoy the benefits of helping both your environment and your wallet. Upgrade to LED lighting today and embrace a brighter future! Contact CST Lighting to upgrade your Fluorescent Light to LED now!